How to Create Automatic Data Refresh in Power BI
Learn how to set up automatic data refresh in Power BI to keep your reports up-to-date effortlessly. This blog provides a step-by-step guide to configuring refresh schedules, managing data source credentials, and ensuring seamless updates for real-time insights. Simplify your workflow and maintain accurate, timely reporting with ease.
POWER BI
Unlock Seamless Data Updates: Automatic Refresh in Power BI
In today’s fast-paced business environment, up-to-date information is crucial for decision-making. With Power BI, you can automate data refreshes, ensuring your reports always display the latest data without manual intervention. Let’s dive into the steps to set up automatic data refresh in Power BI.
What Is Automatic Data Refresh?
Automatic data refresh in Power BI refers to a scheduled process that updates your datasets in the Power BI Service by pulling the latest data from your sources. This ensures your reports and dashboards remain current, providing real-time insights to users.
Step 1: Prepare Your Dataset for Refresh
Before setting up automatic refresh:
Ensure your data source supports automatic refresh:
Cloud-based sources like Azure SQL, SharePoint Online, or OneDrive are ideal.
For on-premises sources like SQL Server, use the Power BI Gateway.
Optimize Your Queries: Use Power Query to clean and shape your data efficiently. Minimize unnecessary columns and calculations.
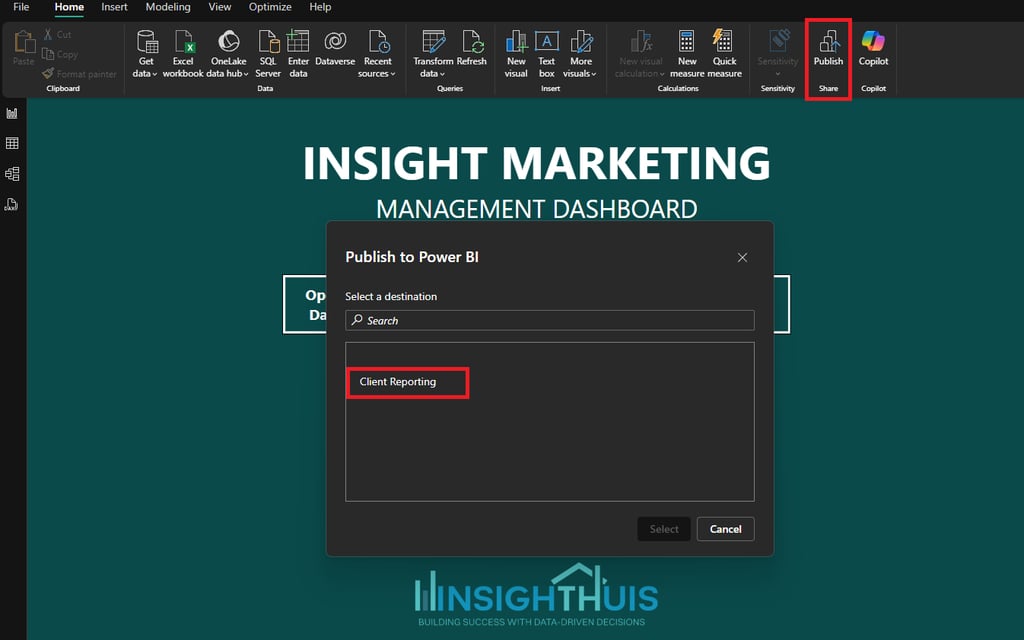
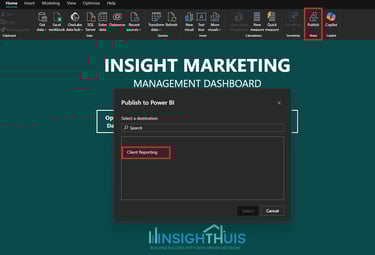
Step 2: Publish Your Dataset to Power BI Service
Open your Power BI Desktop file (*.pbix).
Click Publish in the Home ribbon.
Select your workspace in the Power BI Service.
Step 3: Configure Data Source Credentials
Log in to the Power BI Service at https://app.powerbi.com/
Navigate to your dataset under the selected workspace.
Click the More Options (three dots) next to the dataset and choose Settings.
Under Data source credentials, provide the necessary credentials to access your data source.
Use OAuth or a similar authentication method for secure access.
Test the connection to ensure it works properly.
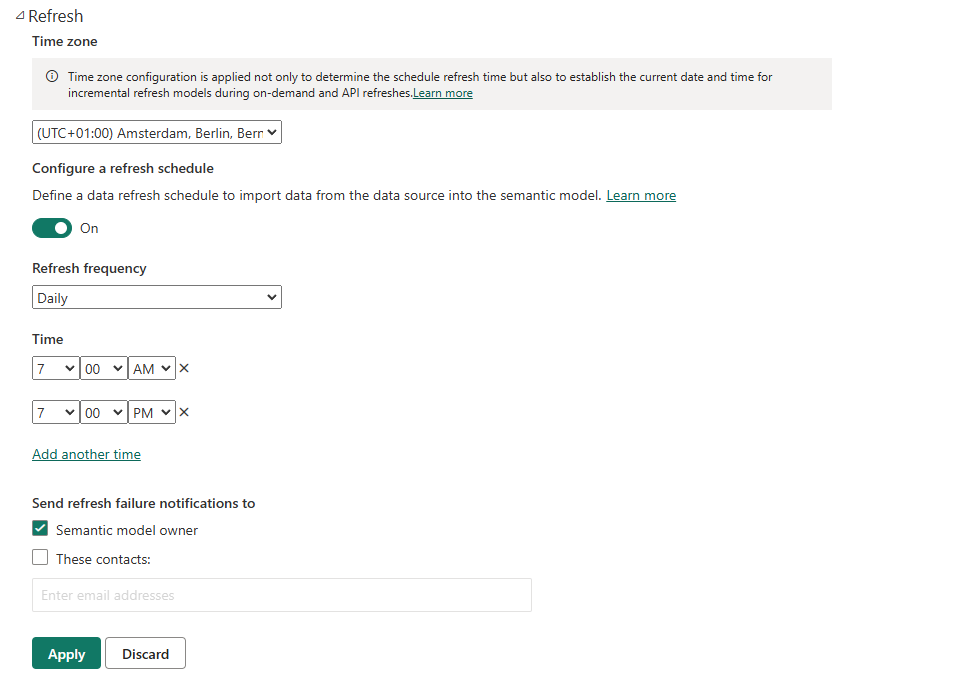
Step 4: Set Up Automatic Refresh
In the dataset Settings, locate the Scheduled Refresh section.
Turn on Keep data up to date.
Configure the following:
Refresh Frequency: Choose between daily, weekly, or multiple times per day.
Time Zone: Specify the correct time zone for scheduling.
Notifications: Enable email notifications for refresh failures.
Save your changes.


Step 5: (Optional) Use the On-Premises Data Gateway
If your data source is on-premises:
Download and install the Power BI Gateway.
Configure the gateway to connect to your local data sources.
Map your dataset to the gateway in Power BI Service.
Step 6: Monitor Refresh Status
Go to the Refresh History section in the dataset settings to view past refreshes.
Investigate failures by reviewing error messages and logs.
Adjust your data model or connection settings as needed.
Best Practices for Automatic Refresh
Optimize Refresh Frequency: Avoid overly frequent refreshes to reduce resource usage and potential timeouts.
Use Incremental Refresh: For large datasets, configure incremental refresh to update only new or changed data instead of refreshing the entire dataset.
Test After Changes: Always test refresh functionality after modifying your dataset or data source.
Leverage Alerts: Use Power BI’s alert feature to notify stakeholders when key metrics change.
Why Automatic Refresh Matters
Setting up automatic data refresh in Power BI saves time, reduces errors, and ensures your reports are always up-to-date. It’s a game-changer for businesses aiming to make data-driven decisions efficiently.
For help implementing Power BI solutions or optimizing your workflows, reach out to Insighthuis. Let’s keep your data flowing seamlessly!
Start automating your insights today!
Insighthuis, building success with data-driven decisions.
Maastricht, Netherlands
Call us: +31 (6) 49158701 / +31 (6)85450973
Contact us: info@insighthuis.com